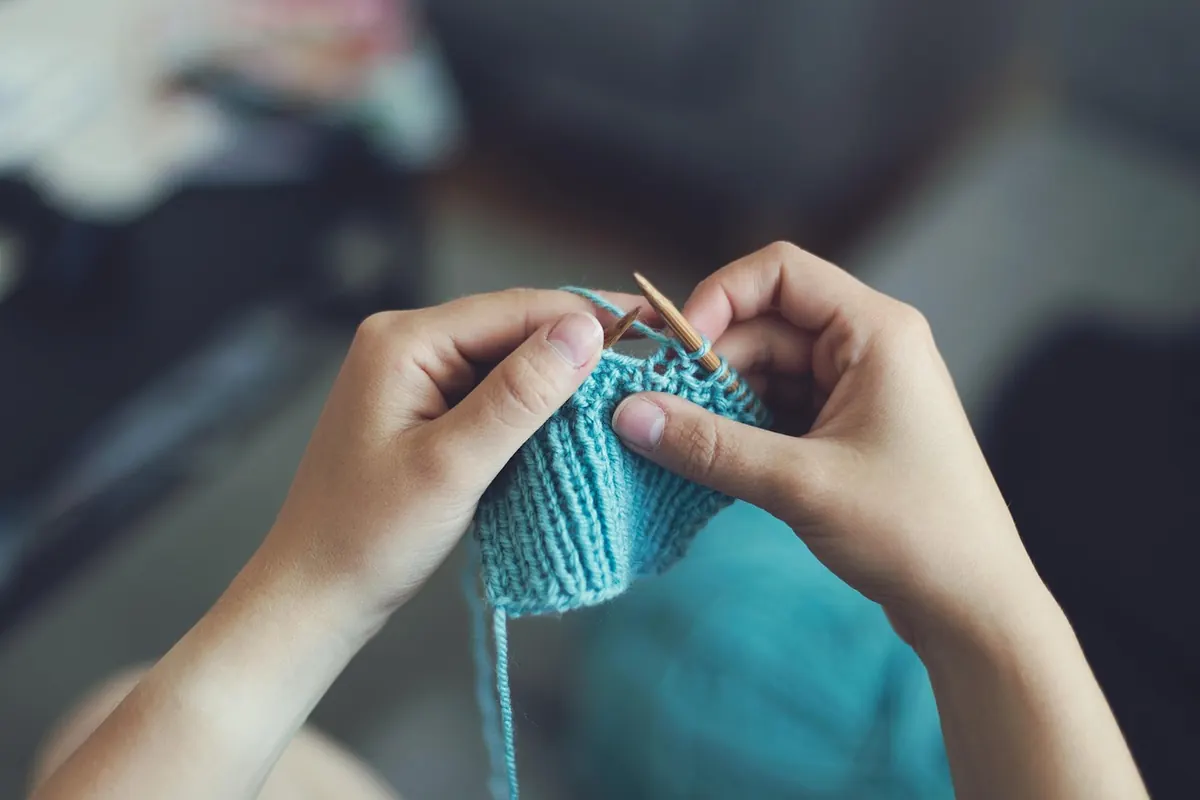
A tea cosy is one of the kindest first projects in knitting. It is small enough to finish before boredom sets in, flat enough to avoid circular needles and awkward joins, and useful enough that even a lumpy first attempt earns its place at the table. It also hides mistakes better than most knitting: wool pulls in around a teapot, and nobody sits there counting your stitches.
What follows is the short version of what you actually need to know — yarn, needles, shaping — plus a pattern simple enough that you could cast on tonight and have a cosy by the weekend.
Start with the teapot, not the yarn
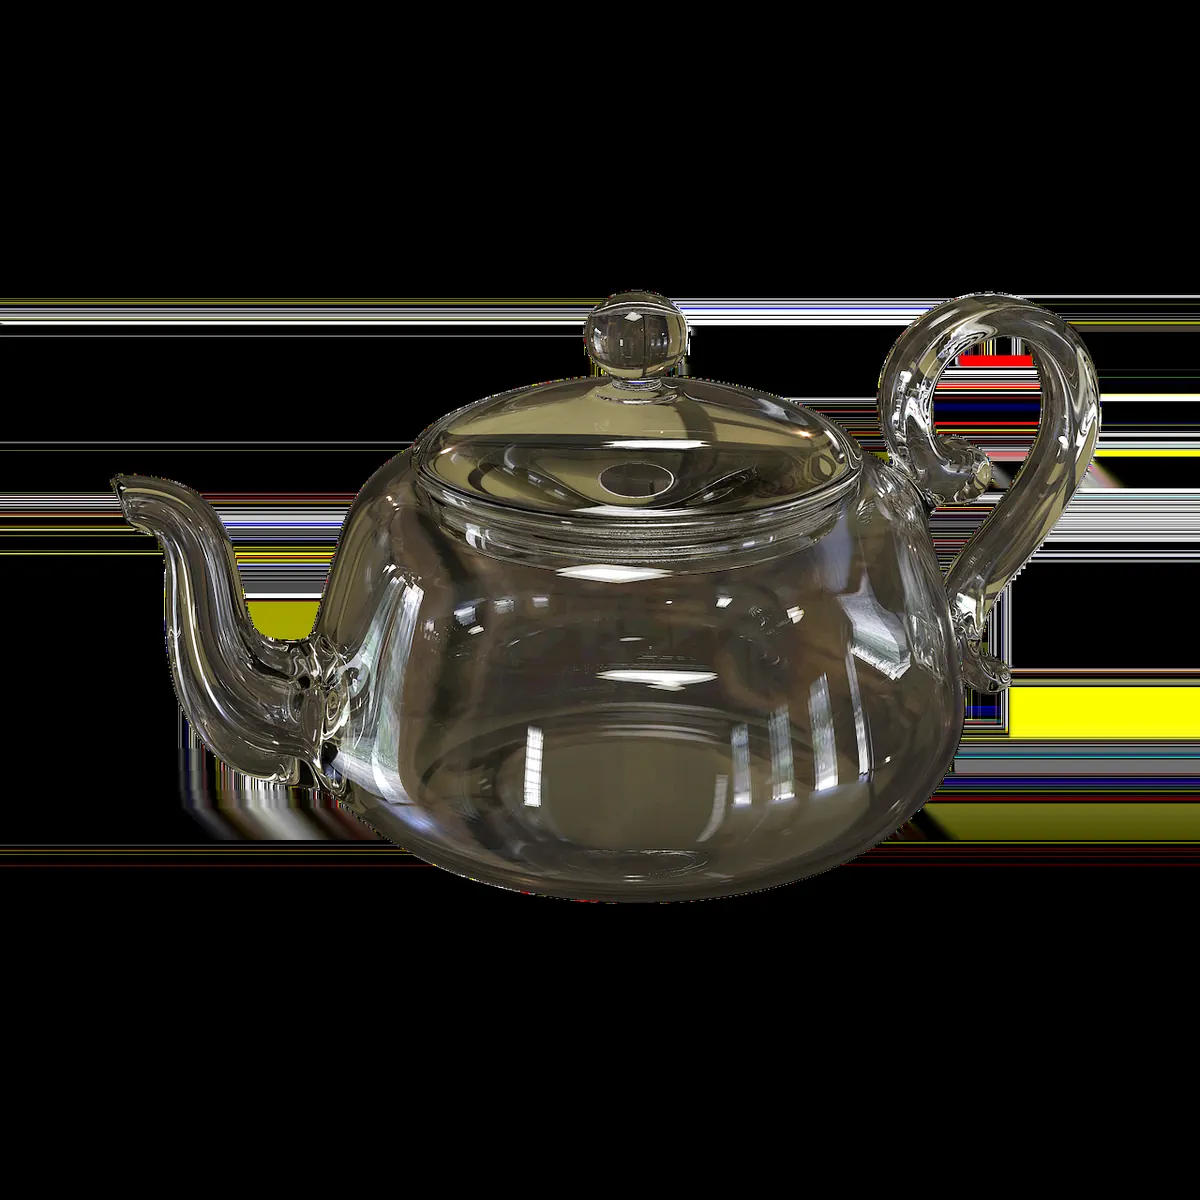
Before you buy anything, measure the pot. A cosy that fits nothing is a dishcloth with ambitions. You need three numbers: the height from the base to where the lid sits, the circumference around the widest part of the body, and the height at which the spout and handle emerge. Write them on a scrap of paper and keep it in your knitting bag.
Aim for a finished circumference a centimetre or two smaller than the pot, so the cosy grips rather than slides. Wool stretches with wear, and a cosy that starts out baggy only gets baggier. If you are between sizes, go smaller — the knitted fabric will forgive you.
Choose a yarn weight you can actually see
Yarn weight is about thickness, not the number on the ball band. For a first cosy, medium weights are the sweet spot: the stitches are big enough to read, the fabric grows quickly, and mistakes are easy to spot and fix.
- DK or light worsted — the best all-rounder. Roughly 4mm needles, about 20 to 22 stitches to 10cm. This is what the pattern below assumes.
- Worsted or aran — slightly faster, slightly chunkier fabric. Use 4.5mm to 5.5mm needles.
- Chunky — very quick, but bulky seams can look clumsy on a small pot. Fine for a rustic look.
- Fingering or 4-ply — beautiful, slow, and fiddly for a beginner. Save it for cosy number three.
On fibre: wool and wool blends insulate well and have a springiness that helps the cosy hug the pot. Cotton is crisper and less stretchy, which makes it slightly harder to seam neatly. Acrylic is inexpensive and machine washable, and perfectly good for practising. Whatever you pick, read the care label — a cosy that shrinks to the size of a teacup is a sad thing.
Needle size: the band is only a suggestion
The recommended needle size on a ball band is a starting point, not a rule. Your hands have their own tension, and two knitters using the same yarn and needles can produce fabric several centimetres different in width.
So knit a small swatch: cast on about 25 stitches and work in the stitch pattern you plan to use until the piece is roughly square. Lay it flat, measure across the middle 10cm, and count the stitches. If you have more stitches than the pattern expects, your knitting is tight — go up a needle size. Fewer, and you should go down.
For this project, straight needles of 25cm or 30cm are plenty. Bamboo or birch suits slippery yarns; metal suits grippy ones. If your swatch curls at the edges, that is normal for stocking stitch — garter stitch, where you knit every row, lies flat and is the easier choice for a beginner.
Shaping is just two stitches turned into one
Shaping sounds technical. It is not. Almost all of it comes down to two moves: making a stitch appear, and making a stitch disappear.
To decrease, knit two stitches together as though they were one (k2tog). To increase, knit into the front of a stitch and then, without slipping it off, knit into the back of the same stitch (kfb). That is the whole toolkit. A cosy narrows towards the top because you work decreases at the beginning and end of a row; it widens near the base because you work increases the same way.
Decreases lean in the direction they are worked, which is why patterns sometimes ask for ssk (slip, slip, knit) at one end of a row and k2tog at the other. Use both and your edges mirror each other neatly. Use k2tog at both ends and the slant is slightly lopsided — visible only if you look for it, and entirely acceptable on a first cosy.
A simple first tea cosy pattern
What you need
- One or two 50g balls of DK yarn (about 100 to 110m each)
- 4mm straight needles, or whatever size gave you a fabric you liked
- A tapestry needle for seaming, and a tape measure
The panel
- Cast on 40 stitches for a pot with a circumference near 40cm. For other sizes, allow roughly two stitches per centimetre and adjust in even numbers.
- Knit every row for 4cm. This garter band becomes the bottom edge and stops the fabric curling.
- Keep knitting every row. When the panel measures about 5cm, increase one stitch at each end of the row, then repeat that increase every sixth row twice more — 46 stitches.
- Knit straight until the panel reaches your pot height minus 4cm.
- Now decrease: work k2tog at each end of every other row four times, until you are back to 38 stitches. This rounds the shoulders of the cosy.
- Work 4cm in knit one, purl one ribbing for the top band, or keep going in garter if you would rather not purl yet. Bind off loosely.
- Knit a second panel exactly the same.
Seaming the panels and leaving room for the spout
You now have two identical rectangles. Hold them together and sew the side seams, but not all the way up. This is where your third measurement matters: start at the bottom, seam upwards until you reach the height where the spout emerges, leave a gap of about 5cm, then continue seaming over the gap and up to the top. Repeat on the other side, at the handle height.
Mattress stitch gives an almost invisible seam, worked from the right side by picking up the horizontal bars between the edge stitches. Backstitch with wrong sides together is faster, sturdier, and perfectly respectable. Darn in all loose ends on the wrong side, and try the cosy on the pot while it is still easy to unpick a seam and shift it.
Making it fit, and what to knit next
Wash and dry the cosy as the yarn label instructs before you decide anything is wrong with it. Garter stitch often relaxes into shape after a bath, and a cosy that looks slightly small on the needles usually settles well.
If it is genuinely loose, resew each side seam a centimetre tighter — far easier than knitting a new one. If it is tight, wear it anyway for a week; wool gives. Resist the temptation to felt a loose cosy unless you have tested the process on a spare swatch first, because felting does not reverse.
Then plan the second one. Try ribbing all the way up, knit it in the round with a circular needle, or add stripes by changing colour every few rows. The pot will not mind either way, and the second cosy takes half the time of the first.
Photo: Foundry / Pixabay