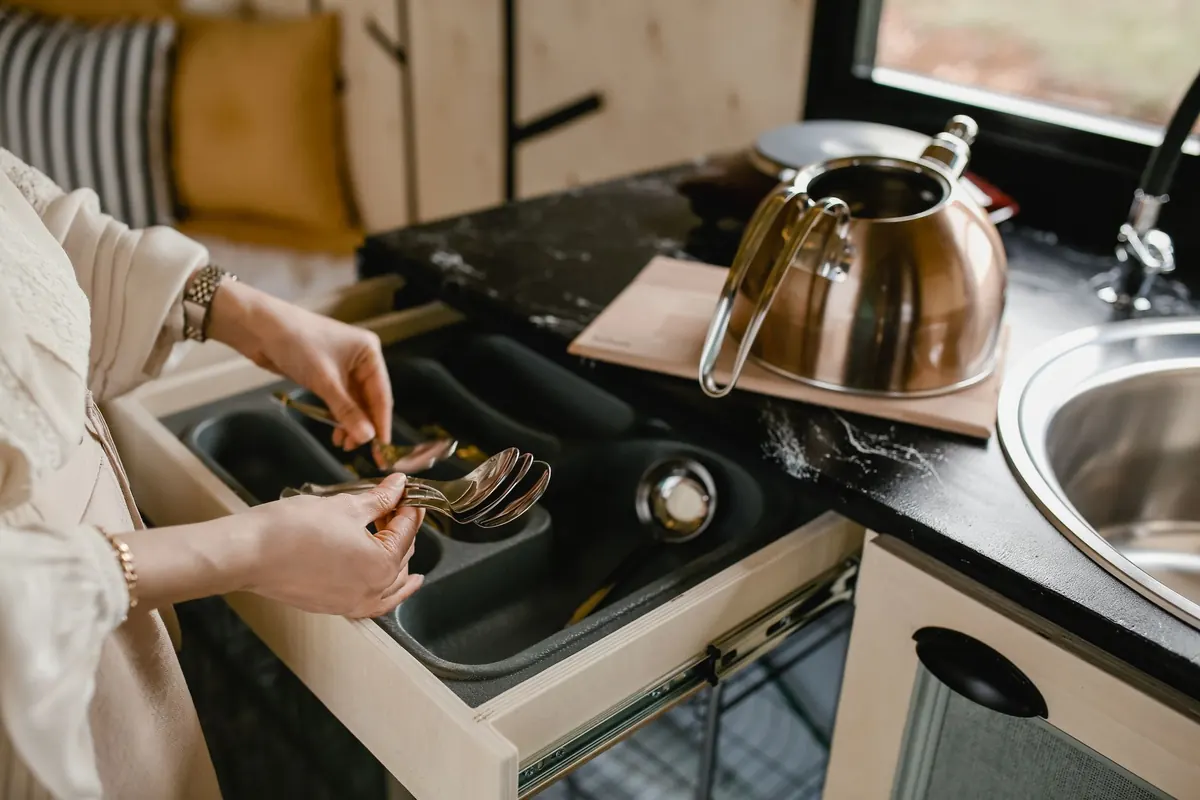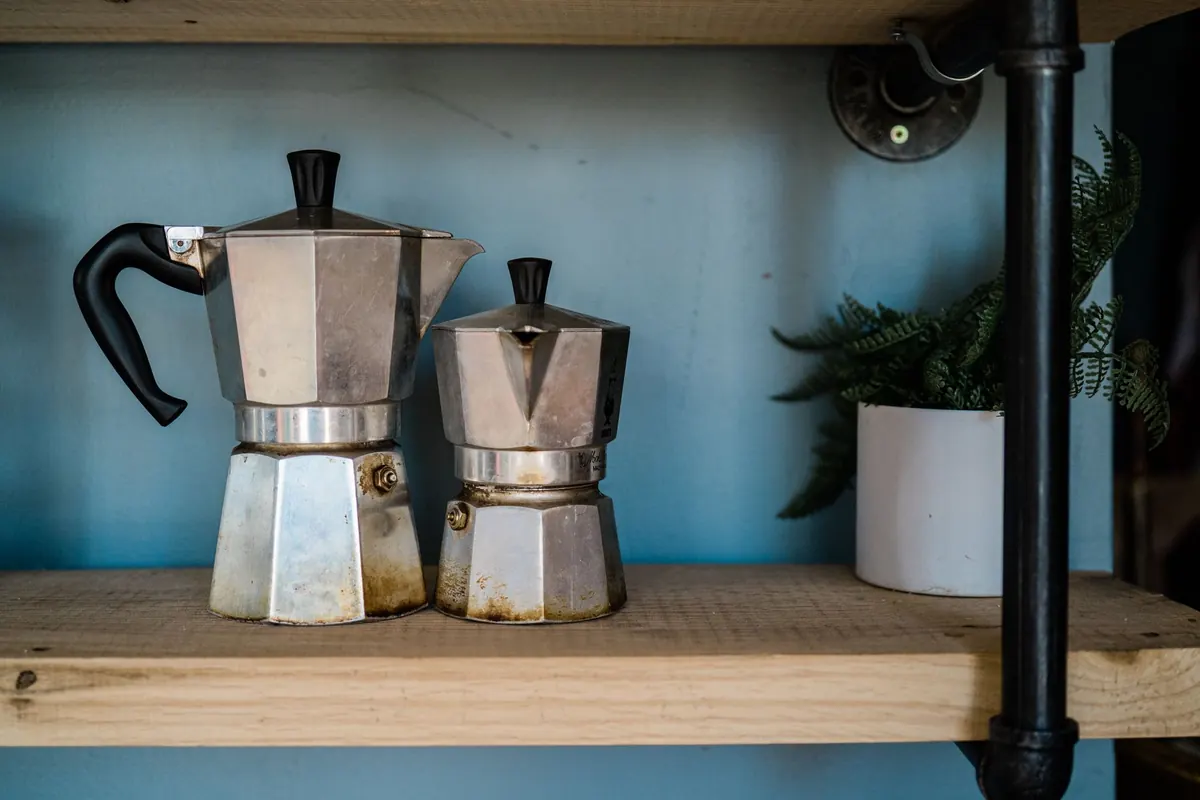
A kettle is the hardest-working object in most kitchens and the least considered. It sits there, boils, gets set down again. That is precisely why it makes such a good focal point: it earns the attention, and it stays put long enough for anyone to notice what you have done with it.
Styling one does not require a renovation. It requires a decision about where the eye should land, and a little discipline about what sits beside it. Here are five setups you can copy, and the rules that make all of them work.
Look One: The Shelf Shrine
The quickest way to make a kettle look intentional is to lift it off the counter entirely. A single open shelf fixed 30–40cm above the worktop gives you a stage, and a stage changes how an object reads.
Keep the arrangement to five objects. A kettle, two cups, a small tin of tea, and one thing that is not useful at all — a small framed print, a smooth stone, a dried stem in a bottle. That last object is what stops the shelf looking like storage.
- Check the fixings before you load it. A full kettle weighs more than most people assume, and a floating shelf holding ceramics is not a place to guess.
- Group by silhouette. A tall kettle next to a low stack of saucers reads cleaner than a row of similar heights.
- Put the kettle at one end, not dead centre. Off-centre arrangements look considered; centred ones look like a shop display.
If the shelf sits near a window, rotate the kettle slightly so its handle crosses the light rather than disappearing into it. Small thing. It makes the shape readable from across the room.
Look Two: The Tray Stage
If you cannot give up counter space, borrow a rectangle of it. A tray turns three unrelated objects into one composition, and it gives you a boundary so the styling cannot sprawl.
Choose a tray with a raised lip and a matte finish. Glossy trays show every splash and fingerprint; matte wood, enamel or aged brass forgive a working kitchen. Build it in this order:
- Set the kettle first, toward the back left of the tray.
- Add a cup and saucer on the front-right diagonal, so the two objects create a line rather than a row.
- Add one vertical element — a spoon rest, a narrow vase, a tea caddy. Something with height stops the tray reading flat.
- Stop at four objects. Five is a jumble.
Lift the whole tray when you clean. That is half the appeal: the styling moves as a unit, so the counter underneath stays genuinely clear.
Look Three: Colour First, Tile Second
Work with three colours, not five. One dominant tone (the tiles or the cabinets), one secondary (the counter or the wood), one accent. The kettle is almost always the accent, because it is the smallest thing you are asking people to look at.
Then read your backsplash. Glossy tiles double the kettle's silhouette in their reflection, which makes a patterned kettle busy and a plain one dramatic. Matte tiles swallow reflections, so a matte wall usually wants a kettle with shine, a saturated colour, or both.
A deep green kettle against a plain white wall is a decision. A mustard kettle against white brick is a decision. A cream kettle against cream cabinetry is a shrug, and no amount of clever shelving will fix it. If everything in the room is neutral, let the kettle carry the colour — then repeat that colour once more somewhere small: a tea towel, a tile trim, a handle on a drawer. One repeat is enough to make the choice look deliberate rather than accidental.
Look Four: The Cosy, Done Properly
A cosy is the most personal part of kettle styling and the easiest to get wrong. It should look like it belongs on that kettle — snug at the base, clear of the spout.
- Fit: measure the widest point of the kettle, then allow a couple of centimetres. A cosy that gapes looks like a mistake; one that fights the handle is a nuisance.
- Material: wool and thick cotton hold heat well and improve with age. Thin acrylic pills and loses its shape after a few washes.
- Pattern: chunky cable knit against plain tiles, fine stripes against a busy wall. Never two patterns of the same scale next to each other.
- Colour: pull a tone from elsewhere in the room rather than matching the kettle exactly. A near-miss looks collected; an exact match looks bought as a set.
One safety note worth repeating: dress a kettle only when it is off the heat and cool. Keep fabric clear of an open flame or a hot hob, and never cover the handle, the switch or the steam vent — steam needs somewhere to go. Follow the manufacturer's guidance for your specific kettle if you are unsure.
Look Five: The High-Contrast Minimal
One kettle, one surface, nothing else. It works on dark stone counters with a pale kettle, or pale counters with a dark one, and it depends entirely on the shape of the kettle being good and the surface being genuinely empty.
Clear 30cm of counter either side of the kettle and keep that zone clear. Add a single light source — an under-cabinet strip, a small lamp on the windowsill — angled so it grazes the side of the kettle rather than hitting it straight on. Raking light gives you a shadow, and the shadow is what tells the eye about the curve.
This look fails the moment a toaster, a pile of post or a drying rack enters the frame. Crop ruthlessly. If your kitchen cannot spare the empty space, choose one of the earlier looks instead.
The Rules That Hold Any of These Together
- Decide the eye line first. Kettle at standing eye level on a shelf, or at the back of the counter where nothing blocks it. Everything else follows from that.
- Limit yourself to three colours. Dominant, secondary, accent. Repeat the accent once.
- Vary height. Two objects of the same height fight; three heights of different sizes settle.
- Keep it clean. Water spots, limescale rings and fingerprints undo more styling than bad taste ever will. Wipe the kettle every time you wipe the counter.
- Protect the working zone. Styling should never cost you the space you actually use to fill and pour.
Make It Yours
Start with one change. Move the kettle six inches, put a tray under it, or clear the shelf above it. Live with that for a week before you add anything else. Most good kitchen styling is subtraction plus patience, and the kettle is a forgiving place to begin.
Above all, remember what you are styling. A kettle should be easy to lift, easy to fill and easy to put back. If the arrangement makes making tea irritating, it is not styling — it is decoration, and it will be gone within a fortnight.